Category: Uncategorized
6 Days
February 24, 2015
Only 6 days left! Don’t miss your chance at $200. (We have had a good amount of people review us on Houzz, but only one person has shared a photo on social media. You can use our photos to enter the contest. I don’t know about you, but I know I could use some extra $! Don’t miss out!)
ROUND 2! DIY: Sylvan Brandt Style
February 19, 2015Hey! It’s me, Tyler, and I’m back with another VERY simple Do It Yourself project! This week I’m going to show you how to make a simple 3’x3′ table that can also be translated into making it as larger size table. Currently, I am making 10 of these tables for a local cafe/deli that is opening next month right here in Lititz, PA (don’t worry, we will definitely show you what the tables look like in the venue).
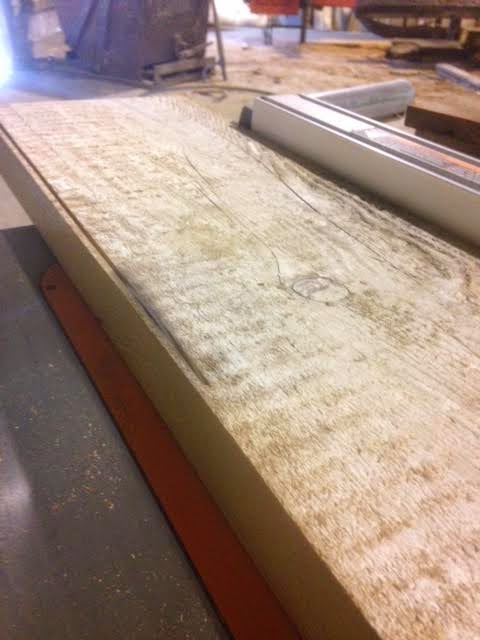
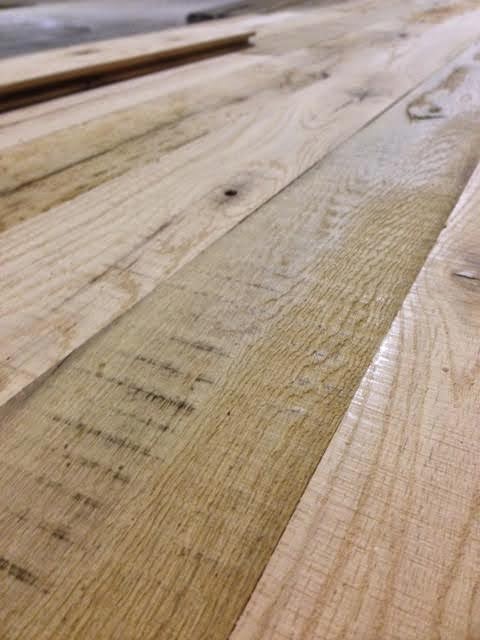
These tables are being made from 100 year old hemlock barn floor planks.
Step 1: Cut planks to desired size using a table saw to create a clean-cut edge to make for the best joint between planks.
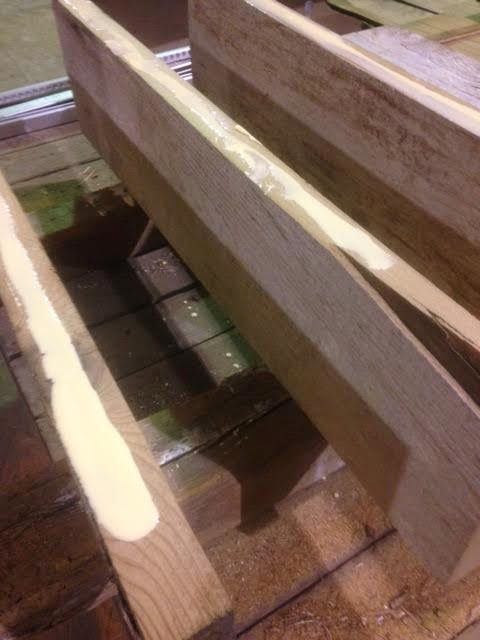
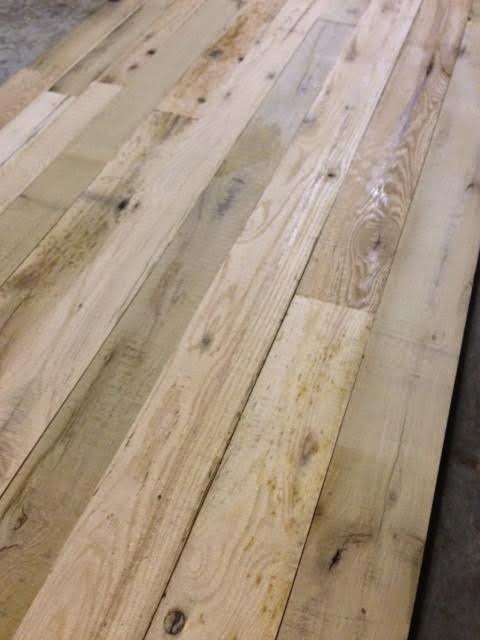
Step 2: Apply glue and fasten clamps. (*Side note: Many people ask about how we join our boards and for now we simply use wood glue. In the near future we hope to learn how to use dow rods or biscuits, but for now glue seems to do a great job.)

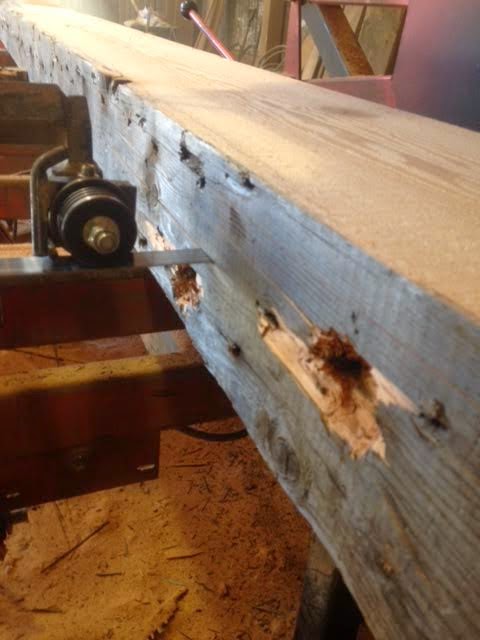
Step 3: As you see in the picture above, I prefer to pre-cut just one end and leave the other end long and then once the glue has dried then cut to length. The main reason I do this is because I don’t trust myself enough to cut every board exactly the same so this is my safe way of making sure it’s a straight cut. I measure and mark both the spot where my cut will be made and where I can fasten a 4 ft level to guide my saw.

(I promise my cut is straight, the clamp is what’s crooked 😉
Step 4: I not able to show the step-by-step part of this step because I’m not able to do this part just yet(on this table), but I will explain what is done.


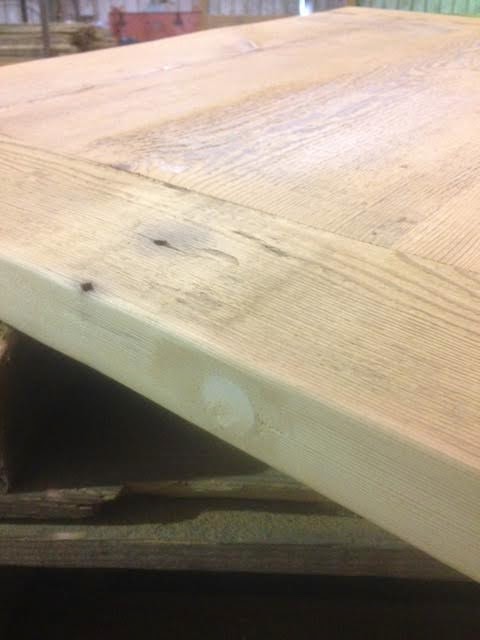
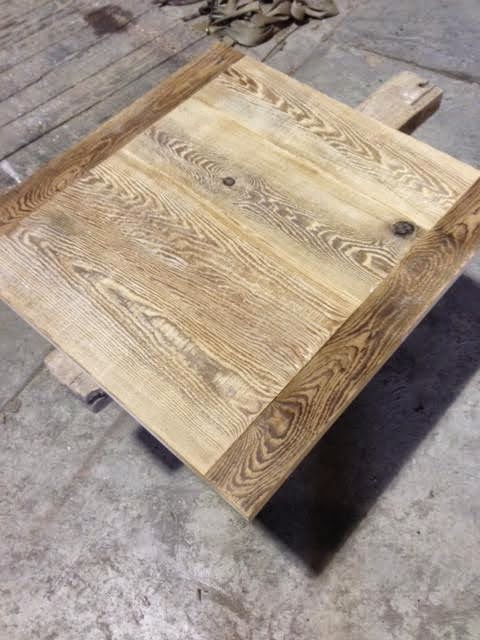
As you may notice, I have now capped each end with a 4″ x 3′ board. To do this I simply use a 7/8″ spade bit to pre-drill an inch in and then a 3/8″ drill bit to drill through the 4″ capping piece. I then apply glue to the inside of the capping piece and insert a 4.5″ bolt into the pre-drilled hole and allow the main part of the table to pull the capping piece tight by way of the bolt. To close the hole off, I simply put a 7/8″ dow rod with glue into the hole with a glue and sawdust mixture on the exterior.
Step 5: SANDING! It’s dusty and tedious, but it’s the final touch to beautify these tables.


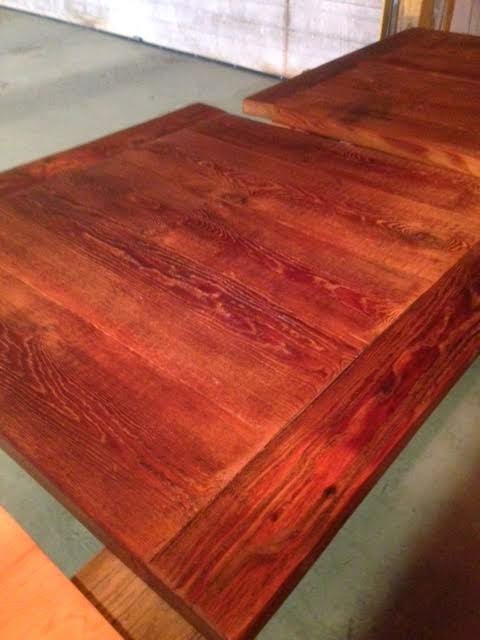
Step 6: The llllaaaaaassssssttttt step! FINISHING! These tables have a Minwax stain called Puritan Pine topped off with Zar’s Antique Flat, which has a matte appearance that we prefer over regular polyurethane.

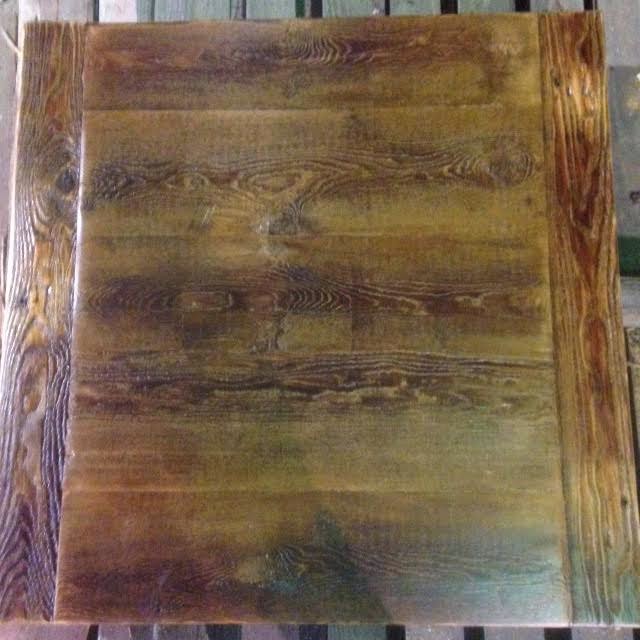

There you have it! The cafe is purchasing their own metal bases so we will be sure to update the blog with the completed project.
Thanks for tuning in! Feel free to ask any questions or request a certain DIY project for the blog.
-Tyler
Just A Little Update
February 17, 2015Hey all!
Don’t worry Tyler will be back with more DIY posts throughout the month. But for now… I leave you with a little “what’s up update.”
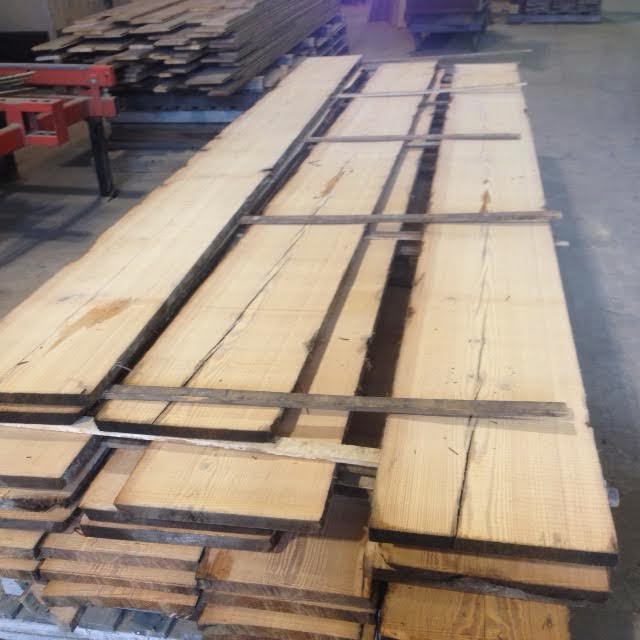
We have been sawing Fir for order #9676.


This week Tyler has also been finishing the table tops for Zig’s. They are turning out beautiful!

And lastly (I told you it was a little update), you may not know this, but Dean has a dream of putting a small cafe in our office. We have slowly been working on it the past two years. This past week we finally bought a sink for the cafe so Tyler has been building a counter-top for it.

Check back for more DIY. I believe these table tops are up next!
Also, March 2nd is coming quickly! Don’t miss out!
Don’t know what I mean? Check out this link.
DIY: Sylvan Brandt Style
February 12, 2015Hey! My name is Tyler and I’ll be doing a few guest posts here on our company blog for the next few weeks. The theme is ‘DIY: Sylvan Brandt Style.’ I’ll be giving you a few simple projects that we have done over the course of the past few years, as well as projects that a few of our awesome customers have accomplished.
About four years ago we sold our longtime office and moved up the street to a home that was up for sale right in front of our mill. This seemed logical so that our entire company would then be at one location. The issue: Our now office was first a home and that has confused a lot of customers in the past. Many people will avoid visiting our office because they think it is someones house…even though there are clearly “commercial” characteristics including painted parking space lines and a handicap parking spot. However, we too wanted to change the look of the place so this is what we did:

What was once the garage, now was becoming our someday cafe (more to come on this!). We took out the two garage doors and replaced them with a man-door and an antique 12-light window. To do so, we began removing the vinyl siding from the east side of the building and replaced it with beautiful brown barn siding. Each row simply overlaps the previous row by an inch. The boards were fastened with 2.5″ nails first, then once a row was finished we placed wood screws every couple feet for reinforcement. We liked it so much we later did the first half of the back side of the building!

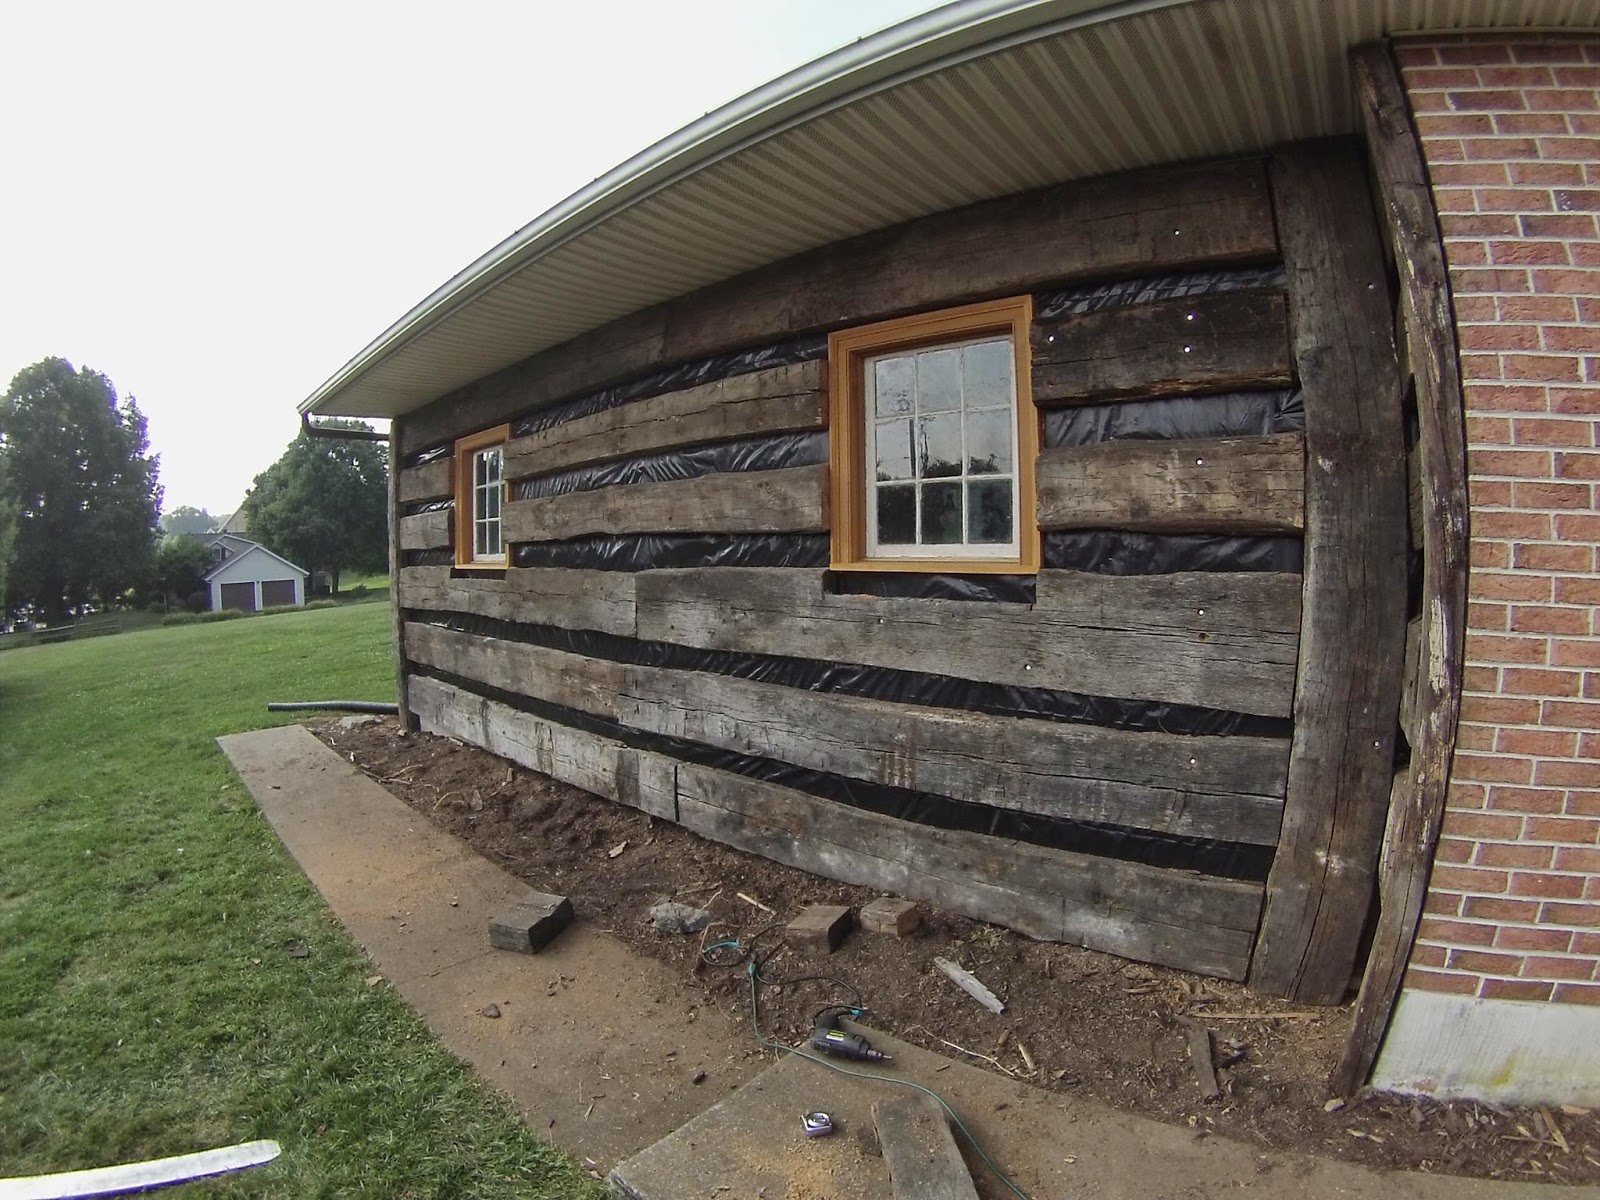
Then on the front side of our building we decided to go for the log cabin look by using beam faces and chinking…
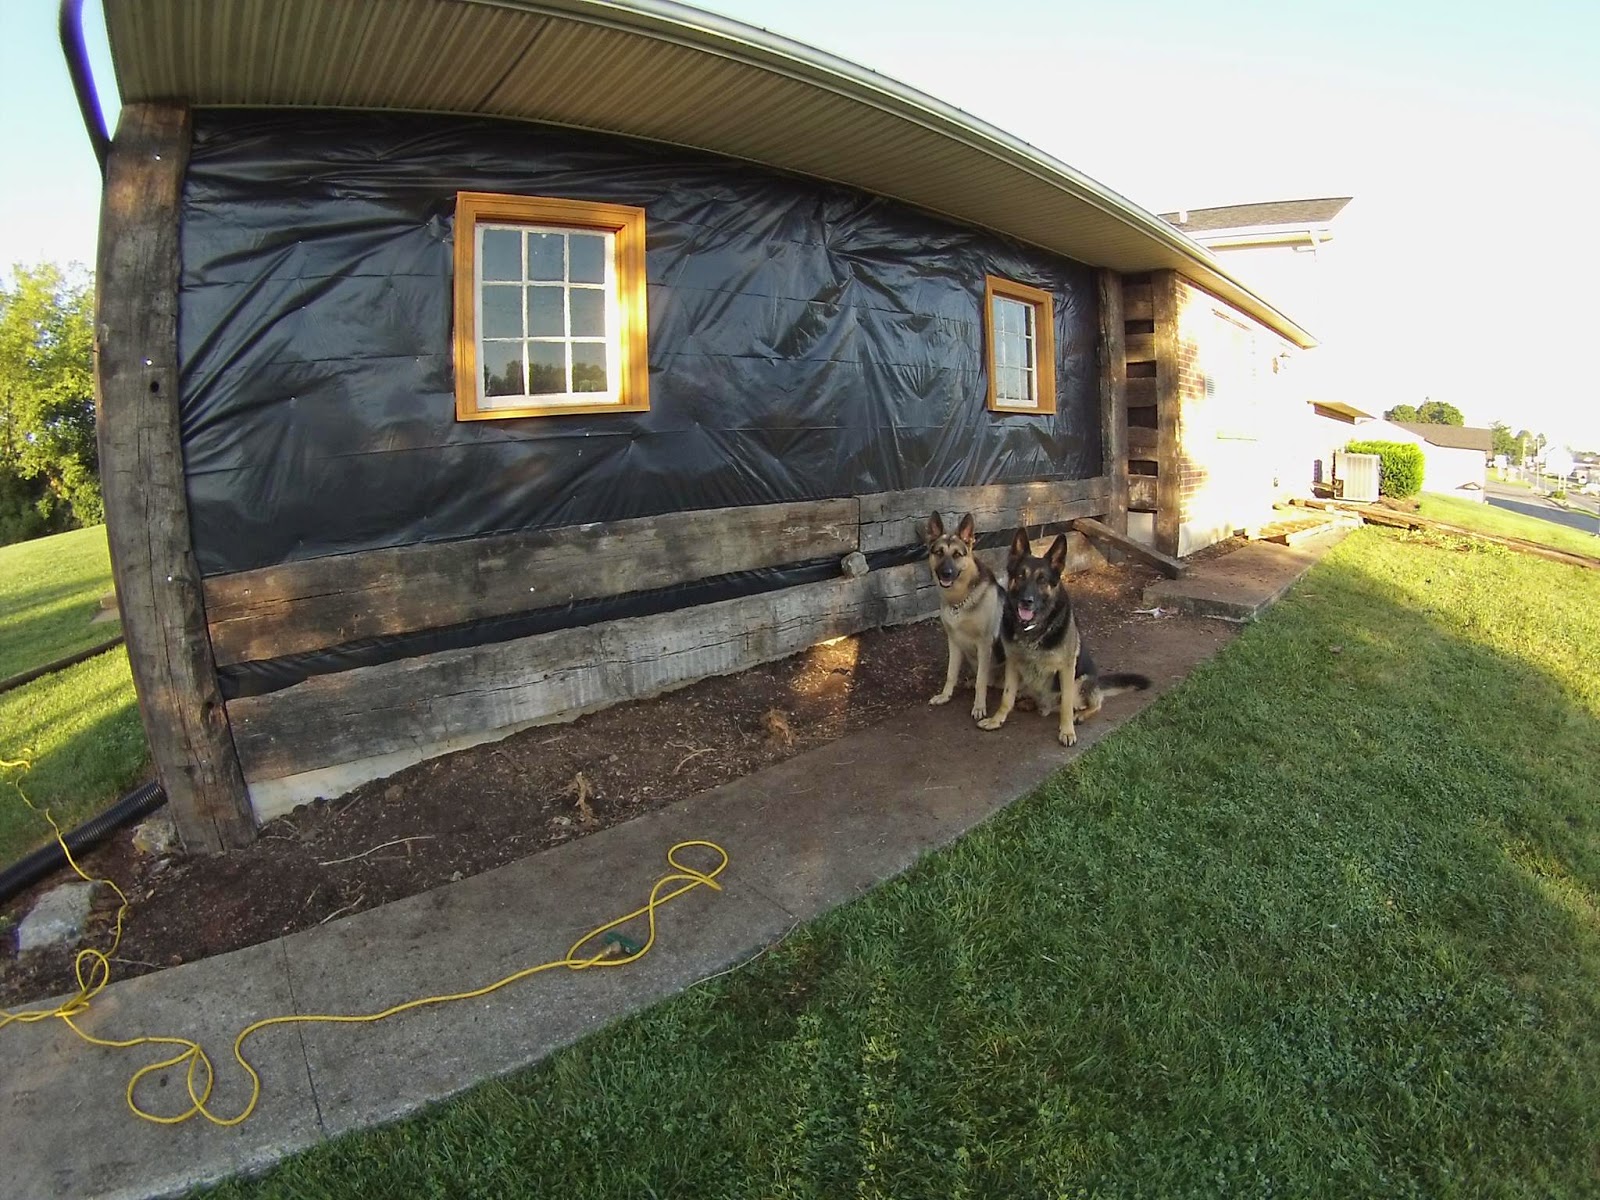
We again took the vinyl siding off the front side of the building/cafe and also had a good friend make new window frames/jambs that we inserted antique 9 light windows into. We chose black plastic paper instead of black roofing paper for this job because we will be putting wet mortar on later so we felt that this would be protect the walls.

The two fascias look great together!

…time for chinking… first we use roofing nails to attach metal mesh for the mortar to stick to…
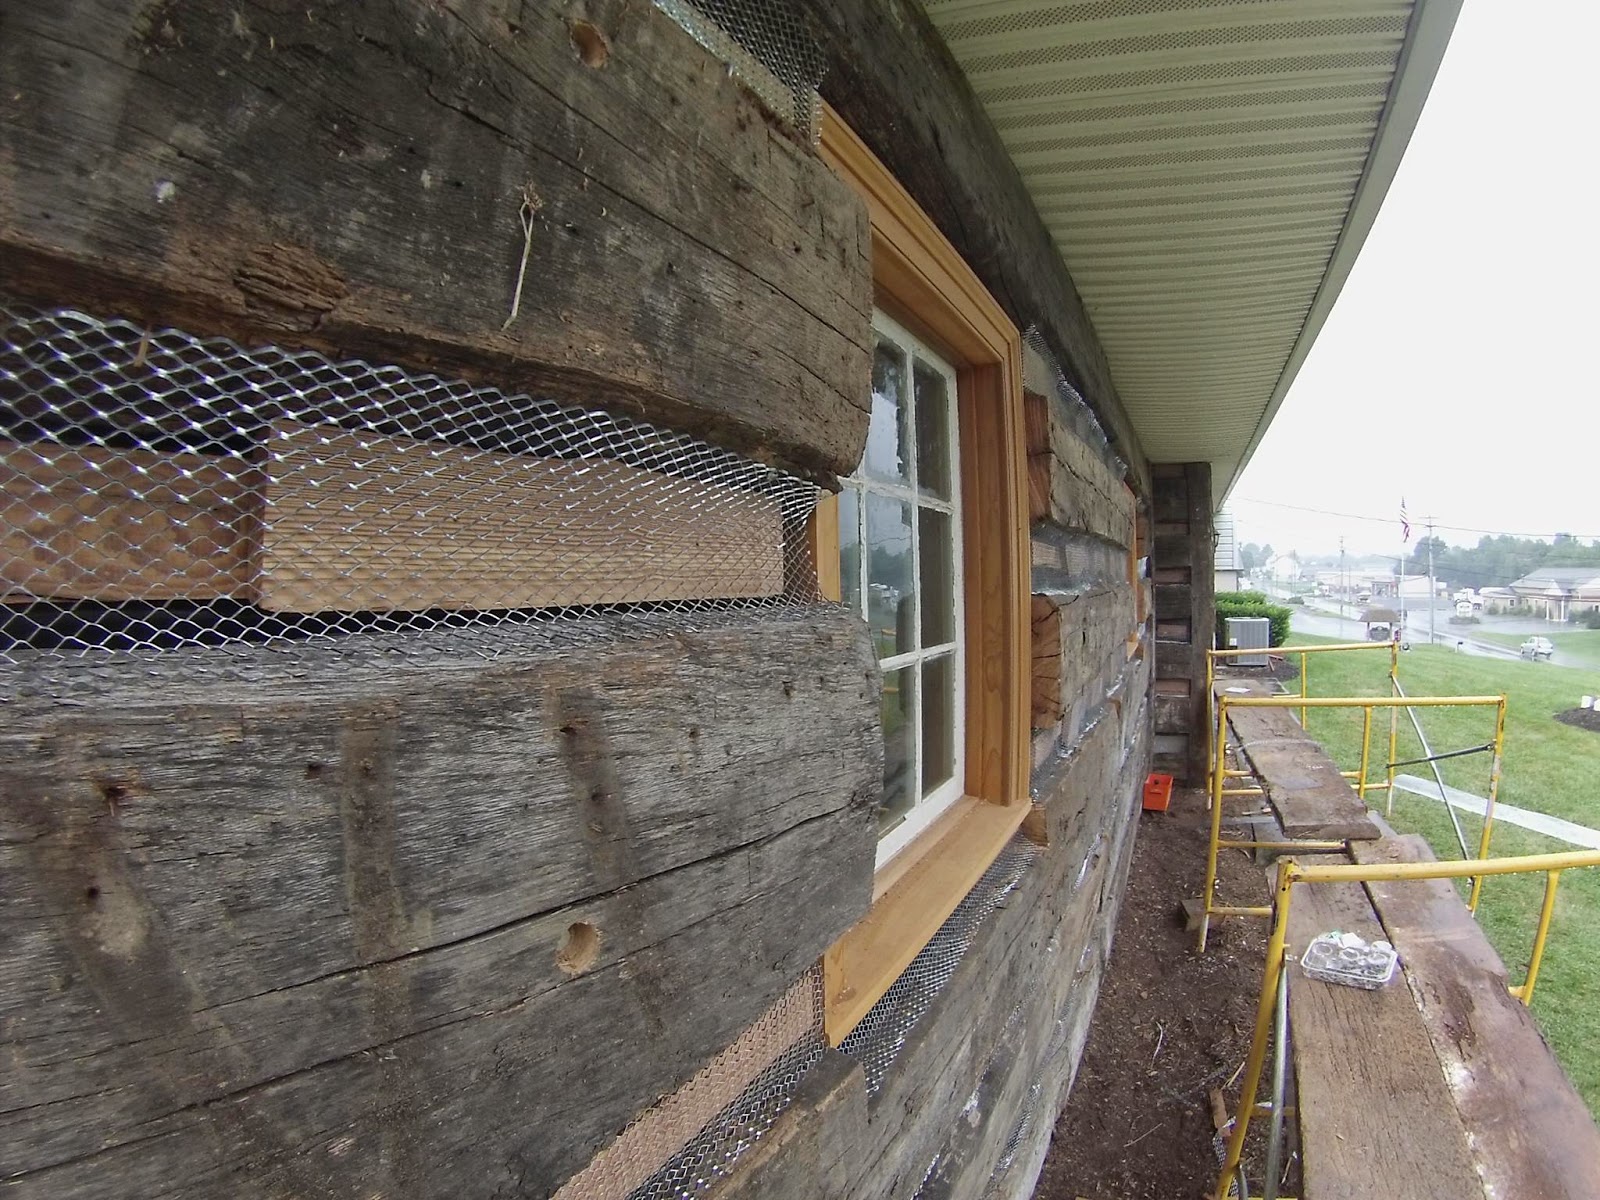
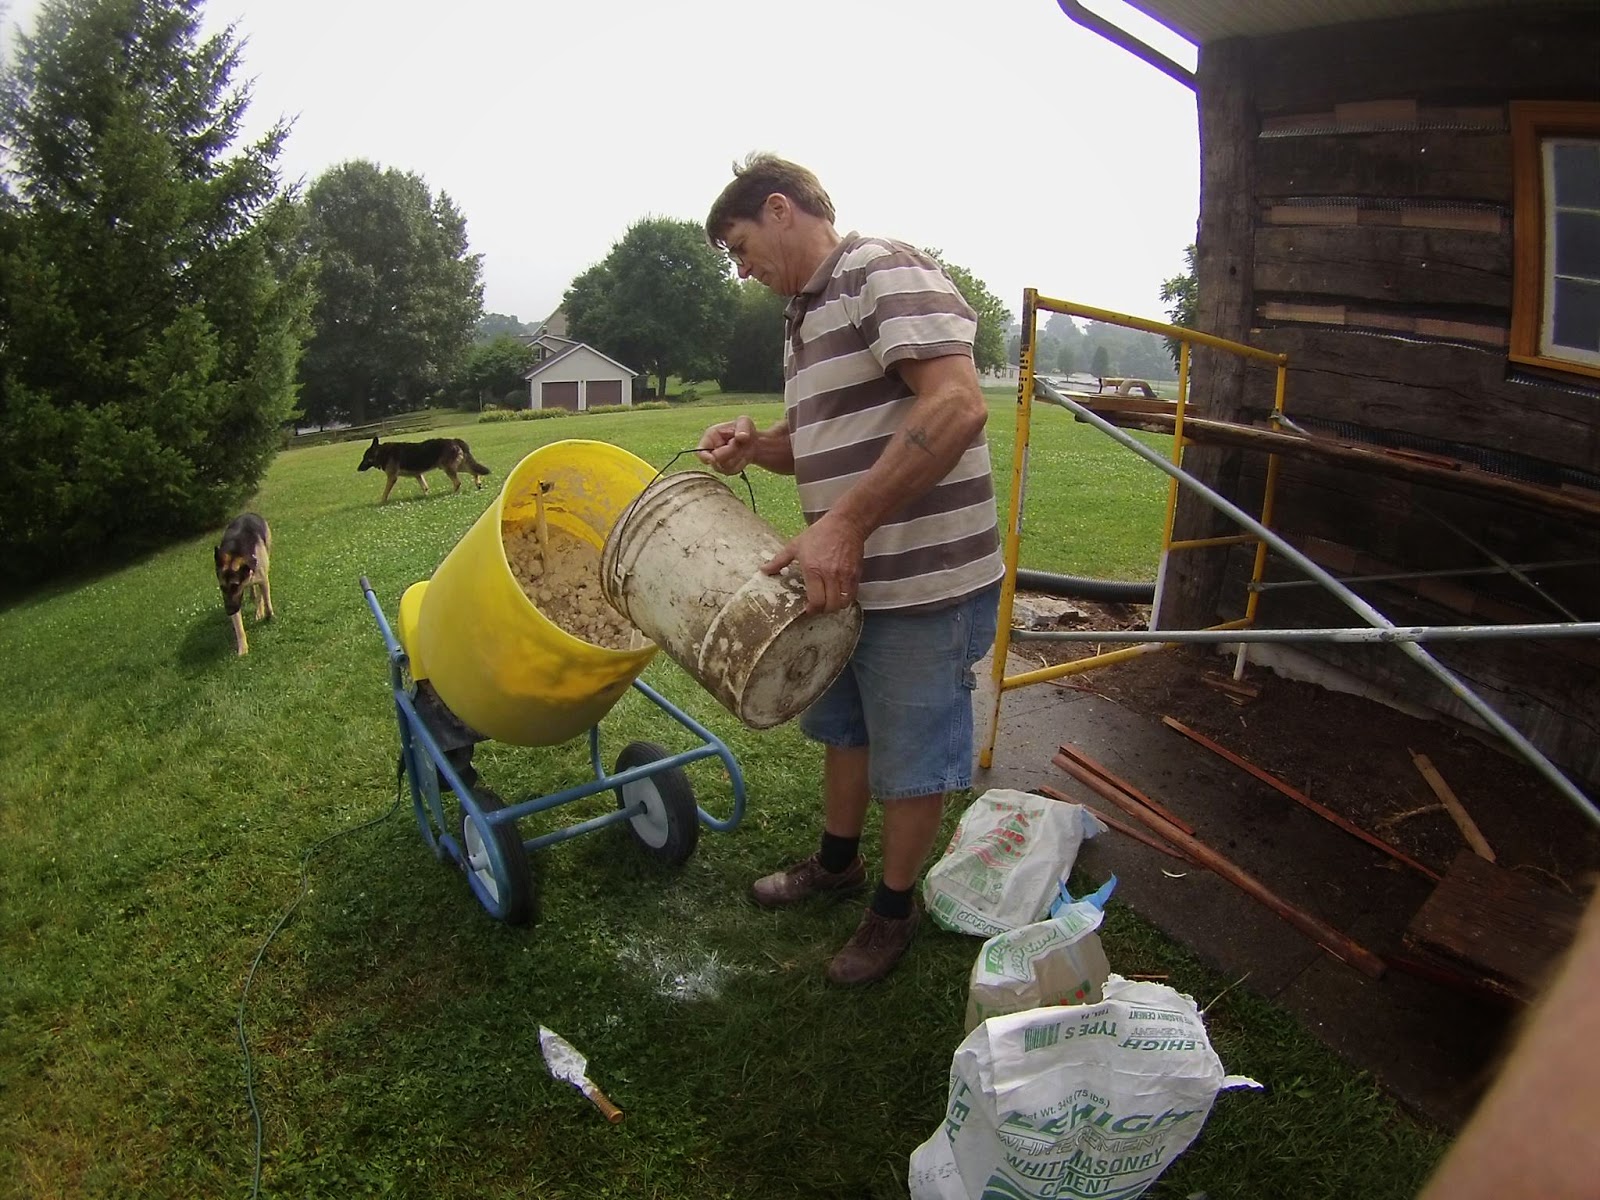

The the first coat has to have checks in it so that the second coat has something to grab onto.

The finished product is gorgeous!

On top of that, that two fascias look authentic together.

So there you have it! An awesome summer project awaits you as your turn you home into a rustic beauty! Come visit us for product options and recommendations on your project.
Stay tuned for more DIY projects…Sylvan Brandt Style!
Thanks for your time,
Tyler Hollinger
Antique Treasures
February 10, 2015Check out these beauts that we got in today!
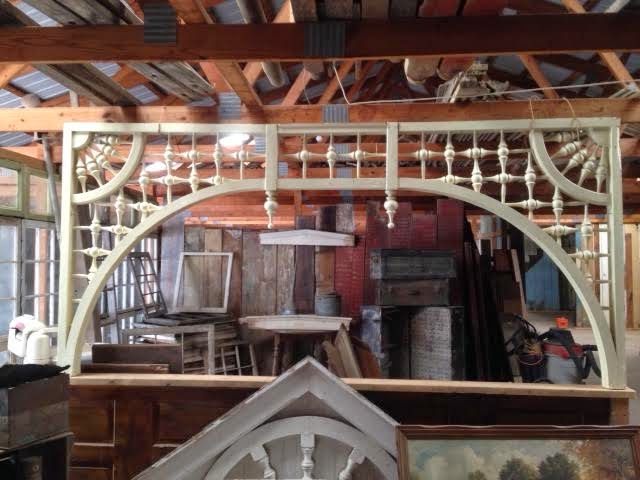 |
| Antique Archway |
 |
| Wooden Spiral Staircase |

These were both taken out of an old building located right here in Lititz! They are even more beautiful in person. I definitely wish that they could come home with me! Make sure to stop by to see them in person!
Coming to a (Potentially) Area Near You!
February 5, 2015Hello Readers! We are going to be around Philly this weekend and would love to see you!
If you read our February Newsletter, then you know all about this, but in case you didn’t, I’ll fill you in. Every year we have a booth at the “Designer Craftsman & Historic Home Show.”
This year is no different! In their own words,
This year is no different! In their own words,
“The event (is) for anyone who wants to learn about how to restore, renovate, decorate, or care for old houses and preserve our architectural history. This show is an invaluable tool for both professionals and homeowners!”
The show takes place at the Valley Forge Casino Resort. New to our booth this year is a gazebo made out of our antique beams, made by our Flooring Technician Specialist, Tyler Hollinger.


Genna Antes will be there all weekend to answer any and all of the questions you may have!


The show is open during the following days and hours:

We would love to see you! Come check us out!
February Update
February 3, 2015
Happiest month of love to you all!
We have a lot of things to update you on this month, but I am going to make it hard on you. To see all of our “Steals, Deals, & Hearts” please go read our newsletter by clicking here.
Make sure that you sign up to receive our monthly newsletter by clicking here.
Thanks!
Oak, Tables, Heart Pine, & Mantles!
January 29, 2015Hello Readers!
Do you remember a few weeks ago I talked about some beams that we got from a barn that was in a fire in Manheim, PA? Well, those beams are currently being turned into flooring for order #9647! They have been sawn and dried, and are now being edged and finished! This floor definitely comes with a story.

Do you live in or near Lititz? If so, you have to go check out Zig’s Bakery when they come their new location in Lititz! While you are enjoying their wonderful food (there rolls are my favorite!), you can sit at a beautiful table! This is the first of many tables that are being made for their new location. We can not wait for it to open!
 |
| This tabletop is done being built. It just needs finished. |
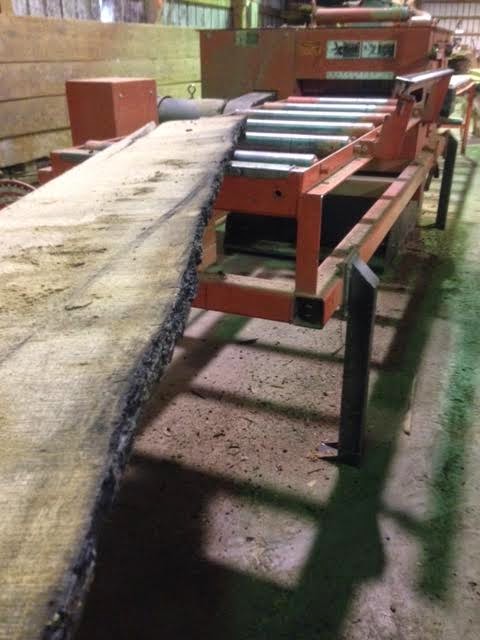
This week we have also been working on cleaning and sawing beams for order #9668 for Heart Pine Flooring. These beams were removed from a building that was built at the turn-of-the-century up in Massachusetts. It looks gorgeous!
 |
| Beams |
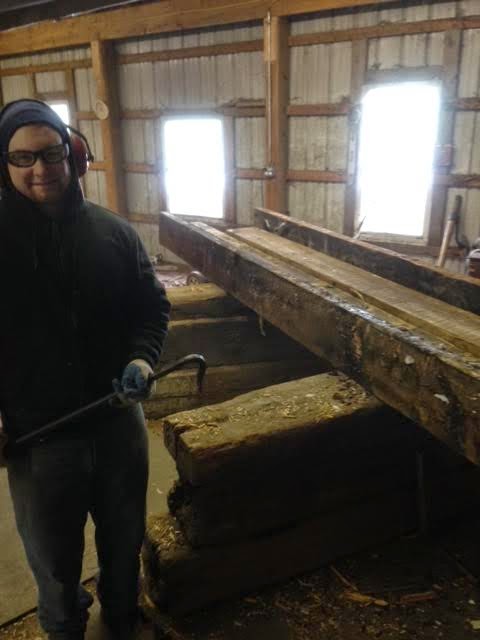 |
| Jordan is cleaning the beams. In other words, getting all the metal out of the beams. |
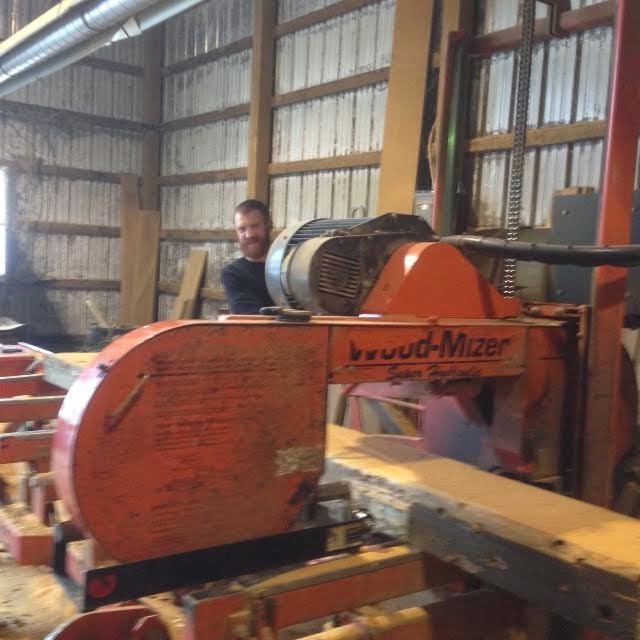 |
| Sawing the beams |
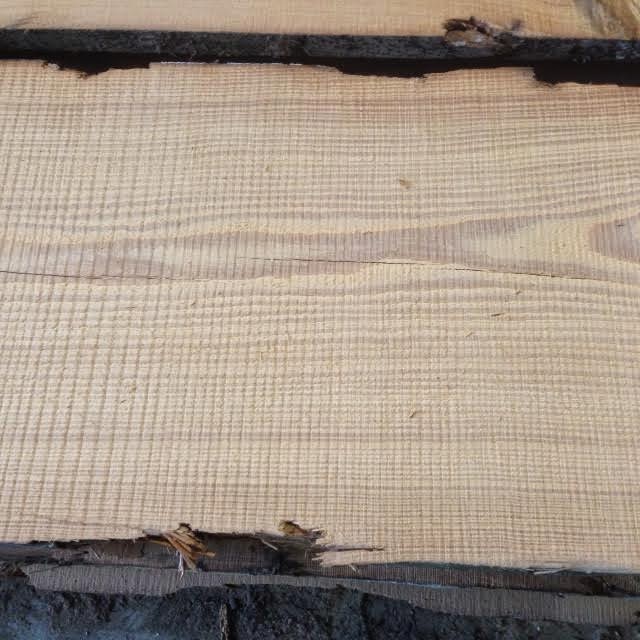 |
| Gorgeous grain! |
We sell a lot of other things other than floors. Our next best seller are beams. Beams as mantles have been really popular lately – we get calls about them all the time. So just in case you were wondering, yes we have beams and yes they look awesome as mantles. Case in point…
 |
| Clean these guys up a little and make them a great focal point in your home! |
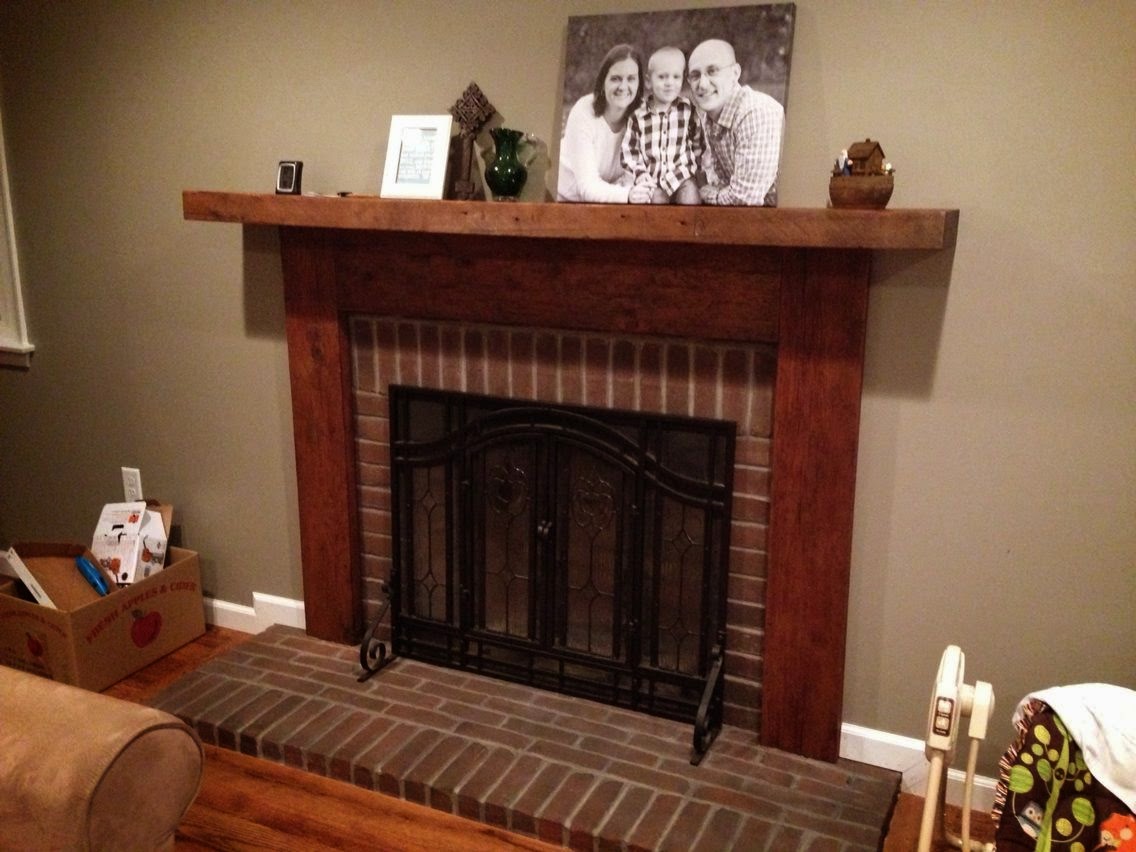 |
| Beautiful and cozy! |
We love when customers send us pictures of their finished projects! Tag us using the hashtag #sylvanbrandtcontest on Facebook or Instagram for your chance to win a $200 Visa!